I am in my pond era. I have started digging ponds wherever I can on both the VA and WV properties, and I would like to avoid using plastic if I can. Here’s a progression of my first pond, which I attempted to seal with clay and an extra layer of bentonite clay (in the form of unscented clumping kitty litter.) Results were okay; it holds water but does seep more than I would like. My next attempt will add another layer of “gley,” which comes from the Russian word глей (pronounced glai, and roughly translates as “slime.”) The idea of gley (or sometimes “glei”) is that you—absolutely on purpose—create a nice layer of slime at the bottom of your pond with a bunch or organic material that you allow to decompose in an anaerobic environment. Mmmmm.
Stay tuned for gley/glei updates. The traditional method uses some manner of manure, often combined with the stomping of hooves or webbed feet. I don’t have access to such now (the guinea pigs have sadly moved on to greener pastures). No manure, no problem, however; my understanding is you can also use other organic compost, particularly grass clippings and leaves, both of which I have in great abundance.
For the first attempt, I just did a plain old clay seal. The soil in Virginia is very high clay content naturally, so this was relatively straightforward. First I dug a hole:

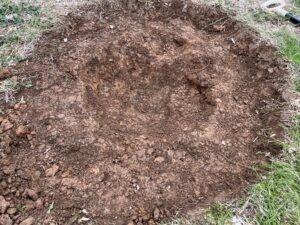
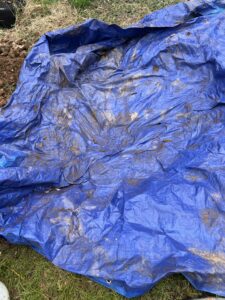
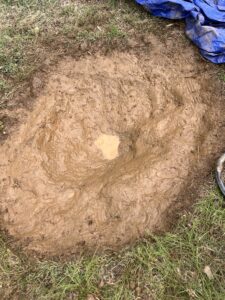
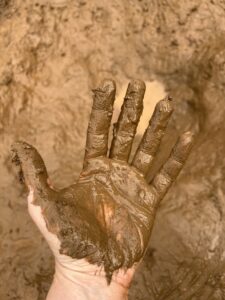
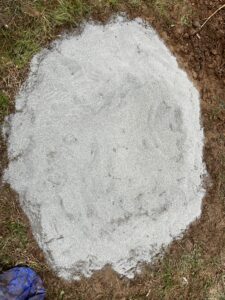
It’s a small hole, about 5 feet across. You can’t see it very well here but it is dug in layers, where there is a bit of a shelf around the edge and it’s deeper in the middle. It isn’t a steep shelf, it’ s a gentle slope down, but there are differences in depth to create different mini ecosystems for plants and critters. It’s about 1.5 feet deep right in the middle, at the deepest point. It’s really kind of a glorified puddle, but space is limited in this part of the garden and this is an experiment! I then used an old tarp to pack the soil as much as possible by stomping all over it. If it were a bigger hole, I would try to drive over it at this point, or at least move something heavy like a lawn mower over it. But for this size, stomping is what I was able to manage. After I stomped for a while, I wet the clay and started packing and smoothing it by hand, picking out rocks and smoothing down the sides as much as possible. This was definitely the most exciting and messiest part f the whole project.
When I was fairly satisfied, I threw a bunch of kitty litter on the clay. I have read different things about how to manage this step—some people say to mix it into the dirt, others say to layer it on like a cake. I went the cake route. This tiny pond used 2 big jugs of (relatively cheap) kitty litter to get it spread all over the clay #notsponsored
I tried to pack it in a bit but found that the dry top of the kitty litter would break off from the part that had started to soak up water beneath, so I abandoned that attempt and moved to the next step, which is to cover the litter with soil. I have immense amounts of used potting soil around, so I used that. In retrospect I think I probably should have done another clay layer, but live and learn. I packed that soil in as well, and then added a bit of water to see what would happen.
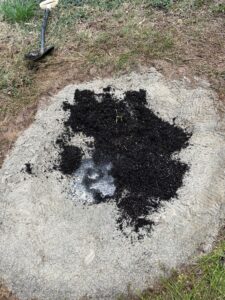

Oh, and I added some of the rocks I had dug up to make a pretty little ring around the pond while I was waiting.
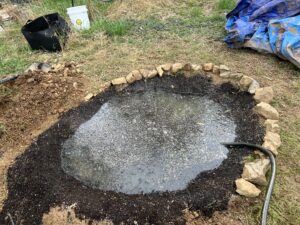
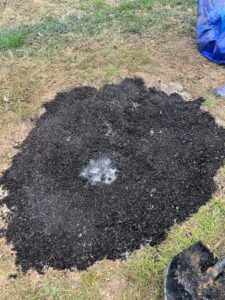
It definitely holds water somewhat, but five days after I filled it, I would say it has dropped about two inches. That’s a bit faster than I would like, especially for such a tiny pond. But hey, this thing only took me about five hours of work, so I’m not too mad about it. If it drains completely at some point I might add another clay layer, although plant roots going into clay kind of defeats the purpose. I am going to plant an assortment of water loving plants in and around it, and maybe expand it a bit at some point.